|
Yes! Here are +15 DIY Christmas Tree nail art tutorials worth to try! You can find several Christmas nail art design ideas from marbled Christmas tree to dotticure Christmas tree. Just scroll down and choose the model for your Christmas nails!😍👍
0 Comments
Christmas is coming! Nail art designs are everywhere but what about DIY nail art designs? Here are 15 DIY nail art designs that you can try at home and they are all snowflake tutorials which can be used during Winter 2020. Scroll down, tutorials waiting for you!
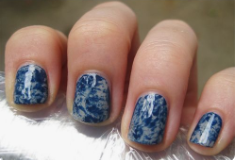
Plastic wrapping technique is actually a watercolor texture technique that combines watercolor and texture printing. For marbled nail art designs, this is the best and easiest way so far. There is only one difference, we're using regular nail polishes or gels instead of watercolor. Let's see how we can use plastic wrapping for beautiful nail art designs.
As you can see above, these are diffent ways to apply plastic wrap. For the first picture you pull up the second color and the base color appears but for the second one, you only apply the second color on base color. Ok, at this point, let's go step by step for this DIY nail art design tutorial!

For the first and second pictures, you need at least two colors. Let's see the first one. 1. You need a base color, in here it's two layer of grey nail polish. Make sure that the base color (grey) is completeley dried.
You're not ready for the most important day of your life if you haven't decided your wedding manicure yet! Don't worry, here are some ideas for you!
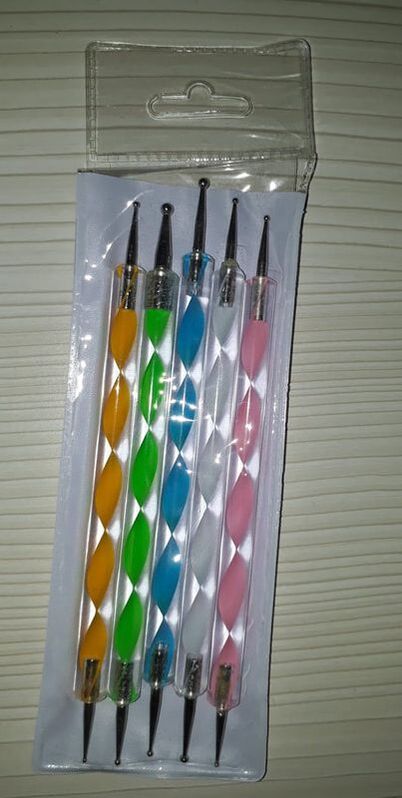
We all like 'dotticure'! You can use household items but if you want your model looks pro then you need to use dotting tools in different sizes for your nail art design. Well, five sizes of them enough to apply dots in a range of polka dots to small mandala dots. Generally, a dotting tool has up and down tips of two sizes: one is big and one is small. Here are mine:
If you prefer nail art design tools while creating your beautiful models, scroll down to see two cute and beautiful nail art designs tutorial videos for you in trendy colors of Fall 2019: Green and Nude.
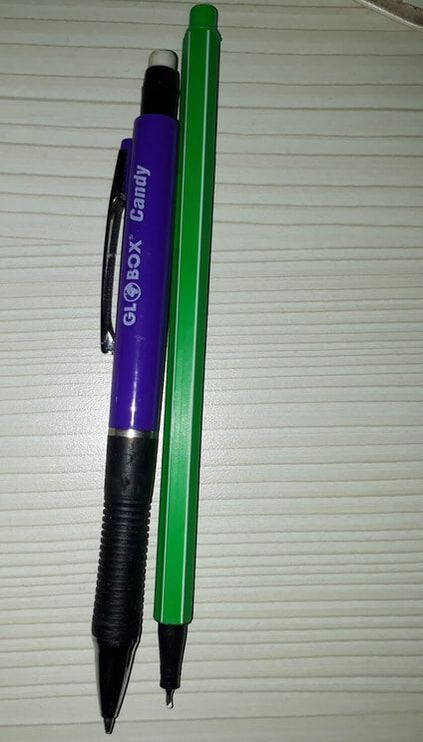
This is the best and funniest nail art design technique to transform your nails into a cute and elegant look! The most important part is, of course, to have dotting tools but don't worry, you can apply this nail art technique with household items too. Here are some household dotting tool ideas: toothpicks (for small dots), pens (in a range of 0.5-0.9mm for several sizes of dots), empty markers or watercolor pens are ideal items to create 'dots nail art design' or 'dotticure' (a well-known name of dots nail art design).
The only thing you need to create dots is to apply nail polish onto the tips of the item (toothpick, pen, marker or watercolor pen). After one trial, you'll see that this is the easiest nail art design technique to have saloon-look nails. Here is a 'cute nail art designs in red' video for you! Keep scrolling down, you'll find one more video that shows cute nail art designs without any tool! If you apply the technique with glitter nail polishes, believe me, you'll have classy nails. You'll see how to make dots with an empty watercolor pen or without any tool! Well, for the first nail art design model you should use something to make dots but for the second video, you don't need any kind of tool, so we can call these videos 'nail art designs at home videos':) Have fun!
Get your glitter powder ready to create glamorous brown nails! Yes, this is a super-easy nail art design for fall you should try at home. Only normal brown nail polish and glitter, that's it! We're gonna use glitters to make french tips, so our brown nail tips will be shinning. And one more thing, for this and all nail art designs, don't forget to seal the model with a topcoat. Here is the question: 'What happens if I don't use the topcoat?' Well, your nail art design won't last long and the glitters will come off. For glamorous brown nail art design idea, you also need a thin nail art brush to shape the tips with glitters. Ok, here is the glamorous brown nail art design video (super-easy nail art design idea)
Aquarelle nail art design is also known as watercolor nail art that is popular since 2016. A well-known nail artist of this technique Sam Biddle says that it is a traditional method of watercolor which is similar just as painting on paper. Actually, the technique gives endless options to draw any shapes, flowers or concepts on your nails instead of acrylic paints. First, apply normal nail polish, let it dry. Then use gouache or watercolor paint and draw whatever you want. Wait until the guache or watercolor completely dry (this is the most important part, because if you apply the top coat when the watercolor paint is still wet, you can destroy your model. ) If you're good at freehand style nail art then you should definitely give a chance to this nail art technique. Let's see some trials of aquarelle nail art designs: Don't forget to try this nail art technique!
|
ArchivesCategories |
 RSS Feed